

- Galen Yerex
- Galen Yerex
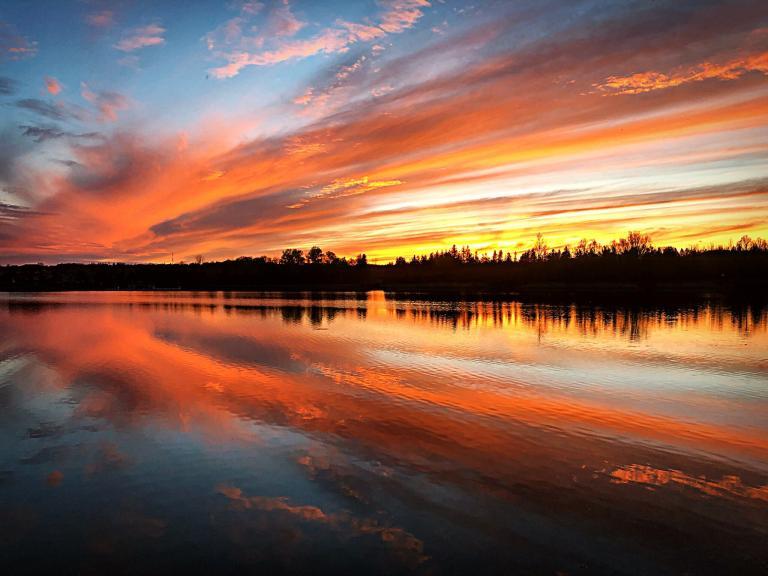
One thing that I think all anglers enjoy is a nice photo of your prized captures. I think everyone wants a memento of their new PB, mirror carp, or that pristine sunset as you put a blank in the books. I have my fair share of sunset photos; I can tell you that, but you can use your blanks to build your other skills if the fish are not cooperating. Luckily, everyone always has a camera on them, so it is not that difficult to get an eye for photography; it just takes a bit of effort, practice, and good subject matter.
The following tips and tricks should help you capture the moments you want to remember for years to come using your phone or a simple point-and-shoot camera. After reading this, you should be able to get that shot that may end up on your wall, go viral on social media or just simply make for buddies’ green with envy.
Taking a Photo:
I can tell you that being a fishing buddy that is not only a good net man but also a great photographer is something that does not always go hand in hand, so if you take anything from this article, the below should help you become a very valuable and desirable fishing buddy. You do not want to be the photographer that cuts off a portion of your buddy’s head or the tail off a PB carp while taking photos of potentially the biggest carp/fish of your buddy’s life.
Simple Steps for Better Shots:
1. Carp Care:
Always remember your number one priority is always carp care. Proper carp care and catch and release are the fundamentals to keeping our incredible carp fishery the way it is and promoting the growth and recapture of BIG CARP. We want our children to catch those lower doubles as 30s one day, but that takes time and proper fish care. Keeping a carp out of the water for a prolonged period is not something we want to promote or practice. You should be able to get the photos you need within minutes of the fish exiting the water. Below are some carp care steps you can follow to get quality photos while getting the carp back quickly.
Steps:
- After that long fight, keep that carp in the net to recover before pulling it out of the water to your mat. You can easily keep that fish in your net in the water as your buddy gets set up for the photo.
- If you are fishing alone, use a keep sack or position your net so that the carp is submerged in the water to revive as you get yourself sorted for photos, wet your mat, get a bucket of water ready, even rebait and cast out your line and then get your photos done while you wait for the next bite.
- I also suggest giving that carp a drink between photos and weighing the carp to minimize time out of water.
- Keep in mind when you revive a carp, they get a little feisty when handling for photos, so have your mat ready and keep that fish low to start as they like to flop around.
- Before taking a shot, toss some water on the carp to one keep it moist, two to clean off any debris and three to make the fish nice and shiny for your awesome photo you are about to take.
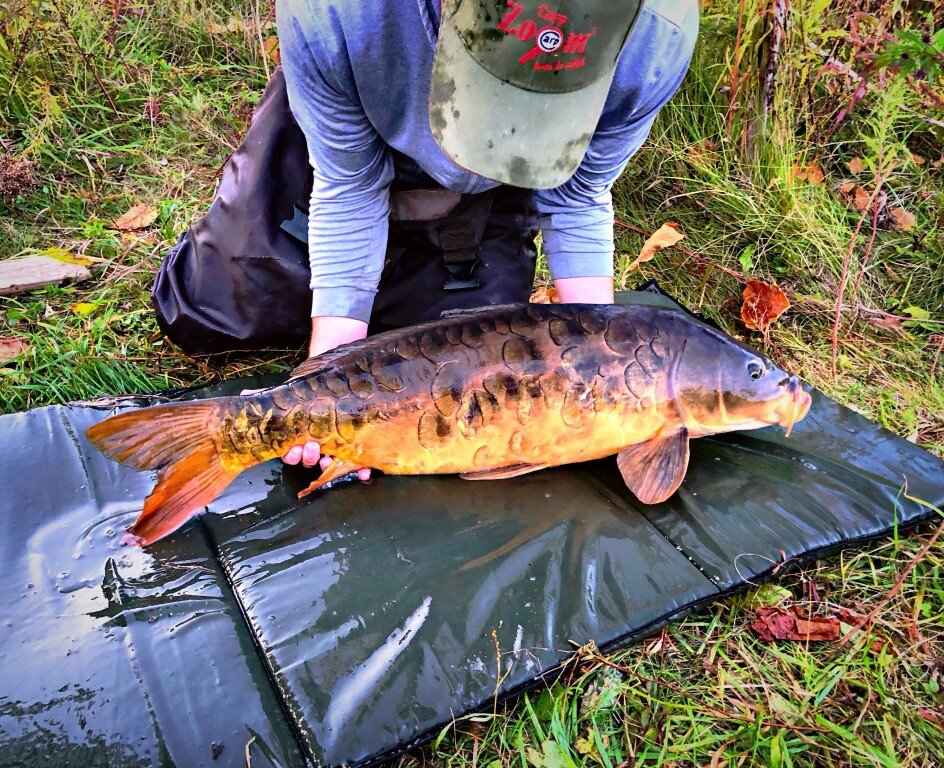
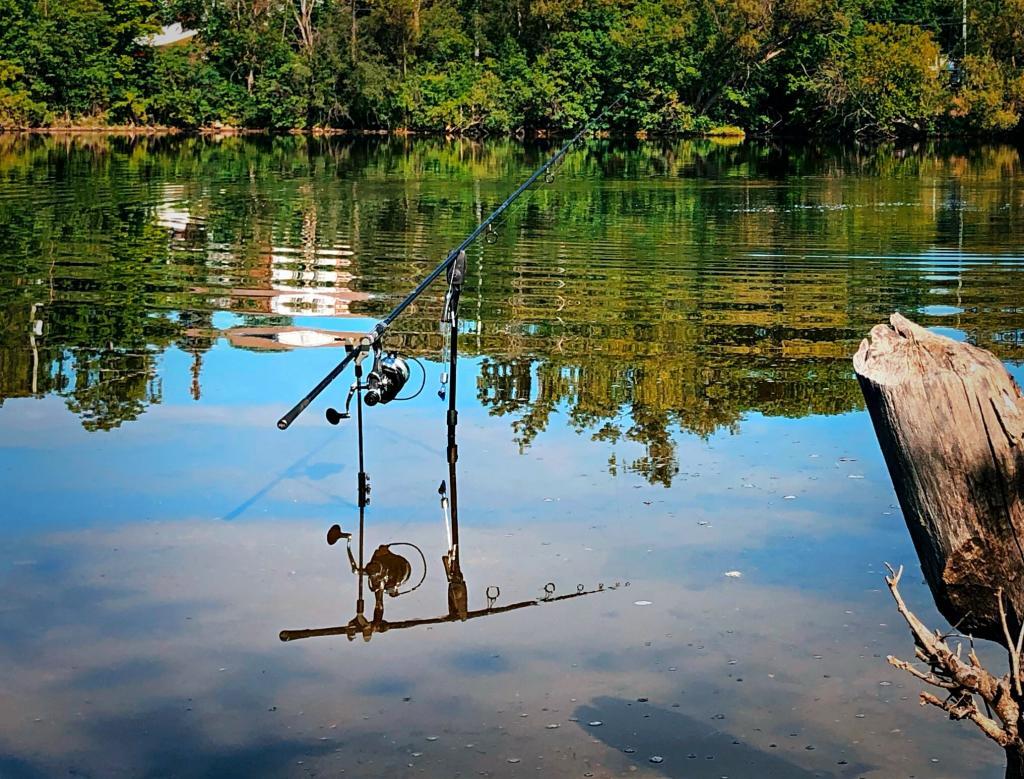
The photographer was too close.
2. Framing a Photo:
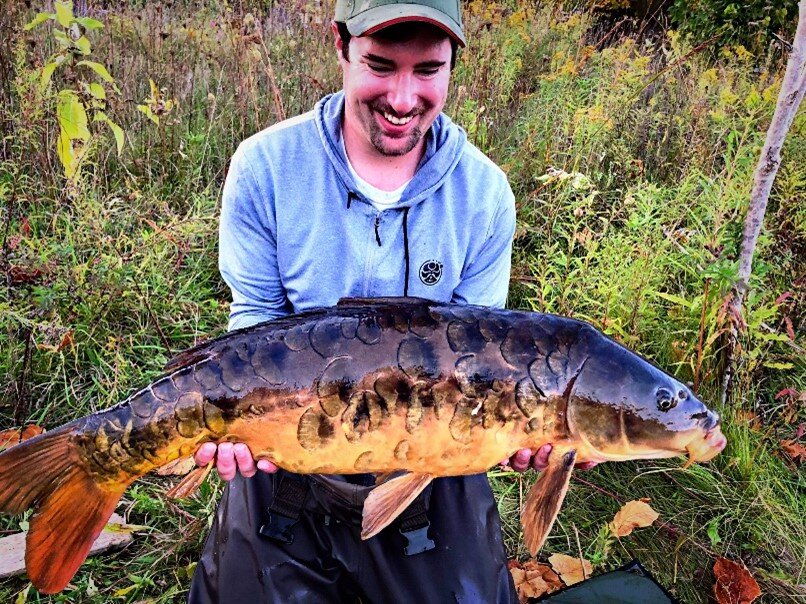
Get your entire subject (buddy holding a fish) into the frame of the photo. Make sure you can see the background all around the edges of your phone or camera screen. It is better to have more background in your photo and crop out what you do not need later than photoshopping in your buddy’s head and fishtail later (generally will not work).
3. Take Multiple Photos:
We are out of the stone age of film and into the digital age so start pressing that button and quickly take a bunch of photos of your subject. It will not take more than a minute to snap 10 shots, even different angles of a fish. One of those shots will be a good one, especially if you follow the direction below! Keep in mind that the fish needs to get back in the water ASAP, especially on hot summer days and cold winter days, to promote a safe and healthy release. Even taking photos in the water can help give that carp a drink between shots, and if it decides to go, just let it go.
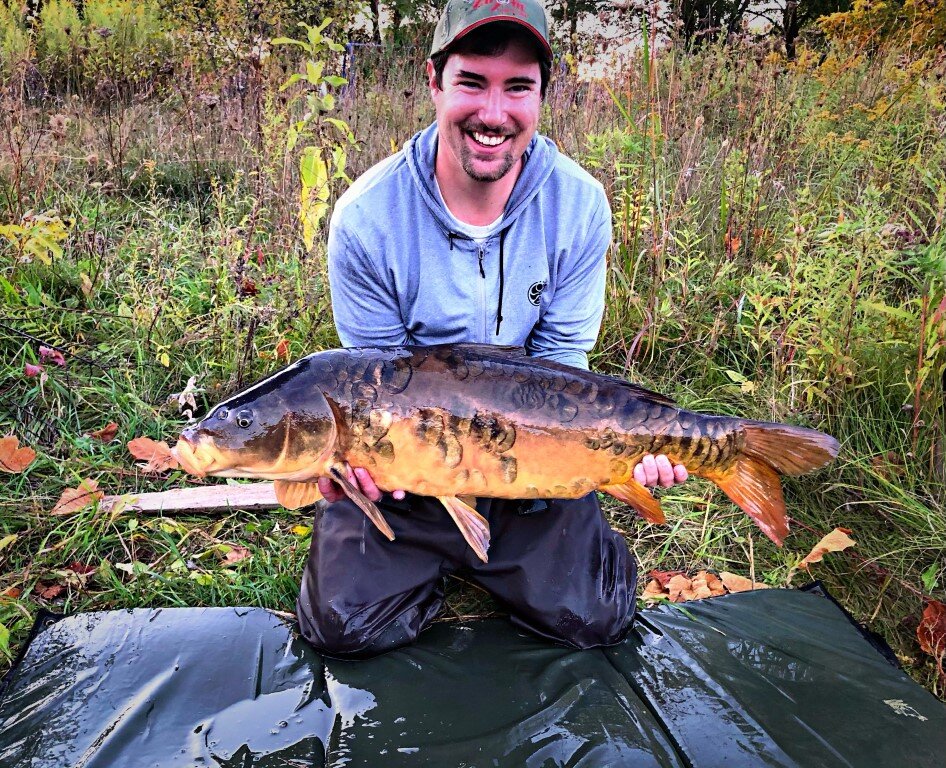
Multiple shots captured these gems and others
4. Lighting:
Lighting can make or break a photo. It’s always best to position your subject with the sun shining on them as much as possible to get a nice bright photo of your buddy holding his capture. One thing to remember here is to make sure your shadow is out of the photo as your back will be to the sun casting a shadow in your subject’s direction, so play around with your positions, even take multiple shots from different angles to get that right shot. If you position your subject with their back to the sun, your photo will turn out very dark. I personally did this with a mirror carp photo last season and had to really mess around with a photo editing software to see any details of its intricate scale pattern. Night photography will be covered below.
5. Focus:
The best part of modern cameras and phones is they have a great autofocus feature. Your phone, for example, requires a quick tap on the screen, and you will have a clear image. One thing to keep in mind is that when taking photos in low light/no light conditions with your phone, you must stay very still or get a blurry photo. Having powerful LED lights on hand is very helpful in reducing blur and increasing focus. You can use a flash as well, but you may need to edit out red-eye after the fact. I usually will hold a light in one hand and my phone in the other to get the proper lighting while I try and take shots. I will cover taking a photo in the dark by yourself below. After some trial and error, you will get used to your own settings.
Taking Photos Solo:
Taking photos by yourself is challenging but also very rewarding. Fish care becomes even more essential as you are now playing double duty with keeping the fish in the water safe while you get your gear sorted. I highly recommend when fishing by yourself to reduce fish handling time by setting up your mat, a bucket of water, tripod, scale etc., in one area of your swim in advance of catching.
Here a list of equipment you will want to have to make your life easier when fishing alone.
Equipment:
- Tripod
- Selfie stick/tripod/blue tooth remote combo
- Phone or camera
- Power bank and phone charging cord
- Go pro and go pro charging cord
- Extra memory cards
- Camera bag to store gear

So, what I do to take photos of a fish while I am alone is I set up a tripod with my go pro and position it to see my mat in the frame of the video. It’s better to be further back than too close, so you do not cut your head off while filming. I will then set up my selfie stick tripod with a blue tooth remote on a bucket and attach my phone. I then sync up my phone and remote and keep the remote ready in a pocket or beside the mat. I then turn my backlight timer on to “never turn off” and select the camera function and 10-second timer. Make sure to also turn silent mode off on an iPhone, and that way, your phone will start flashing at you when there is a few seconds left before a photo is taken.
Once all this gear is set, I can then bring my fish from my retainer to my mat and start taking photos. I can press the button on the remote, put the remote down and pick up the fish ready for the shot. I only do this step 3 or 4 times before getting the fish back in the water or at least back in the retainer in the water so I can check my shots; otherwise, the go pro should have captured enough video that you can pull a still or screenshot from the video that will be just as nice as your phone shot. The key again is to limit the amount of time the carp is out of the water, so with practice, this process can be very efficient. If you do get a run while taking photos with a carp, make sure to either let that carp go or put it into your net or retainer first before dealing with the other fish on your line. This will allow you to do a brace shot, but again I cannot stress enough making sure now both fish are well taken care of when taking photos. It can be done efficiently and carefully while still getting some amazing shots and limiting how long the carp are out of the water.
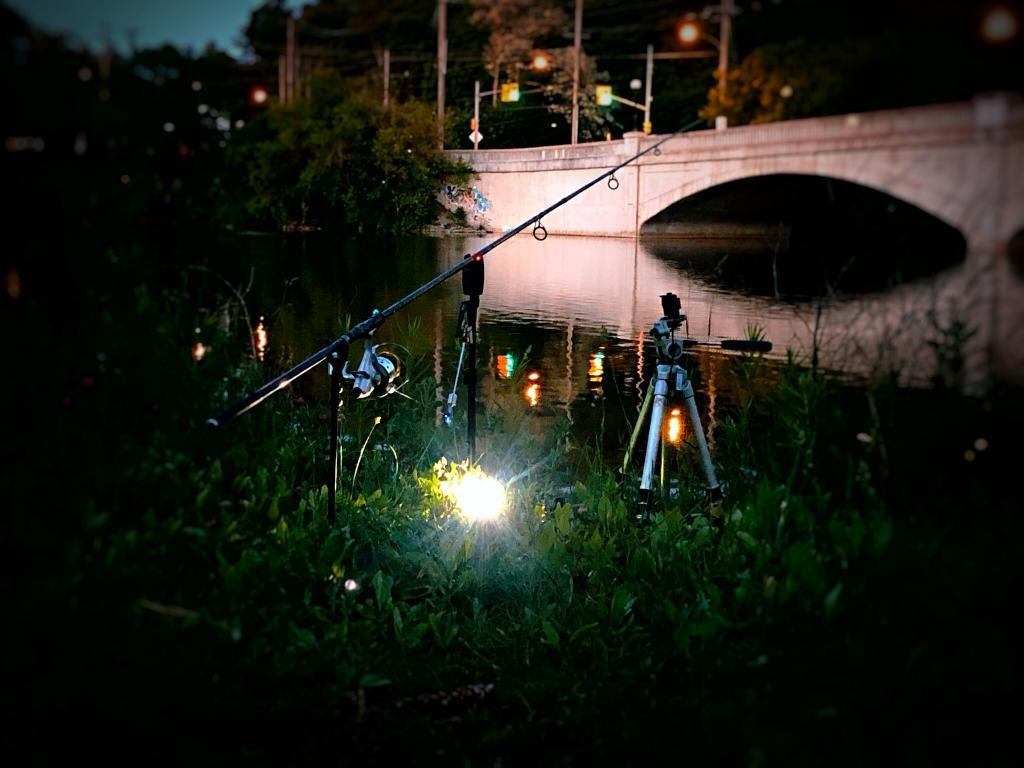
Solo Photos at Night:
All you must do to take photos at night is do the above but add one more step. I like to set up an LED light facing the mat as a backlight. Just hang in a tree, bush, bivvy, bucket, bank stick or from your go pro tripod, and you should be able to project enough light on yourself to get a good shot. Using a LED light, you do not need to rely on a camera flash to get a solid photo. You are also providing a backlight for your go-pro, so again, if your camera shots do not quite turn out the way you want, you should be able to pull an image from that go-pro film.
Organizing photos:
These are just a few tips I use to help me keep my photos organized on my phone. If you are like me, you are constantly saving content to your phone library so your session photos can get lost in the mix. I like to create albums on my phone, one called “editing” and another called “social media.” I will choose the photos I want to edit, move them to the editing folder, edit the photos and then moved the edited version to the social media folder. This way, I can keep organized and my photos ready to be posted. I personally post a bunch of my carp fishing photos to Instagram and Facebook, so this is a big help.
Instagram:
Speaking of Instagram, I recommend everyone get an Instagram account. I know it is not for everyone, but it is an excellent way to force yourself to take more photos as it becomes a place to put them and share with the world. You can use your Instagram account for many different things rather than just trying to become insta famous; however, if you get good enough at photography, you never know the possibilities.
Instagram is a great place for inspiration to add a bit of style or something different to your photos. There is so much interesting and unique carp fishing photography or just photography in general that you can use as inspiration in your own fishing. You can also pick up a ton of different techniques, rigs, and types of gear to make note of or purchase. It also is a great platform to reach out to other anglers to see how they are fishing and what they are doing to catch those bigguns!
Use this as a tool that happens to be attached to your camera that is always in your pocket, and it is easy to post while on the bank waiting for that next run.
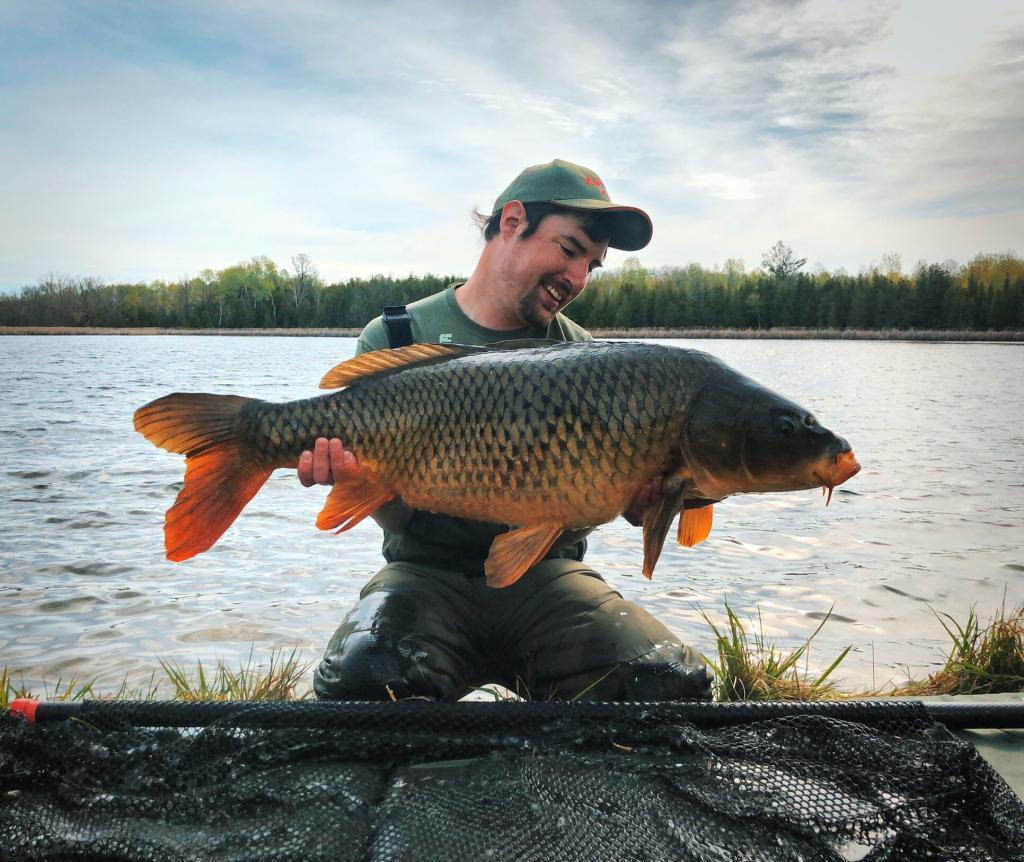
Photo Editing:
Photo editing, I have become obsessed with; however, it can be intimidating when you first start. There are so many apps and software out there that have so many functions and tools you can use to edit your photos. I suggest starting with the basic editing program available in your phone photo library or using the tools provided on Instagram. These tools are easy to use, and you can really make a photo pop. If you want to get into more detailed editing and even adding blur to your background or removing an object from your foreground, among other things, I suggest trying one of the apps from the list below. I would highly recommend picking one app, research it on YouTube, learn it and experiment with it before downloading all of apps below. Some apps are easier to use then other but all of them have similar tools.